Chapter 2 · The Foundation
The Kit (Analog Tools)
Concept Definition In a professional kitchen, tools are not just accessories; they are mechanical extensions of the chef’s body. A cheap pan fights you by dropping temperature too quickly; a dull knife forces you to use dangerous pressure. The goal of your “Kit” is not to own the most equipment, but to own the correct equipment that offers mechanical advantage and thermal precision.
The Physics: Mass, Leverage, and Conductivity To select the right tool, you must understand the physical force it controls:
- Thermal Mass (The Pans): Cooking is heat transfer. Thin, cheap metal heats up fast but cools down instantly when you add a steak (crashing the pan temperature). Heavy pans (Cast Iron, Clad Stainless) store “thermal energy” like a battery, ensuring the Maillard reaction continues even after cold food hits the surface.
- Conductivity (The Bowls): Stainless steel is a conductor; glass is an insulator. When cooling a custard over an ice bath or warming a hollandaise, you need a material that transfers temperature instantly.
- Mechanical Leverage (The Knives): A knife acts as a wedge. A “stamped” blade is often too light to fall through food, forcing your wrist to do the work. A “forged” blade has the weight to drive the cut, reducing fatigue.
Practical Application: The Essential Inventory Avoid “Unitaskers” (tools that perform only one function). Build your kit around these core categories.
1. The Blades (Extensions of the Arm)
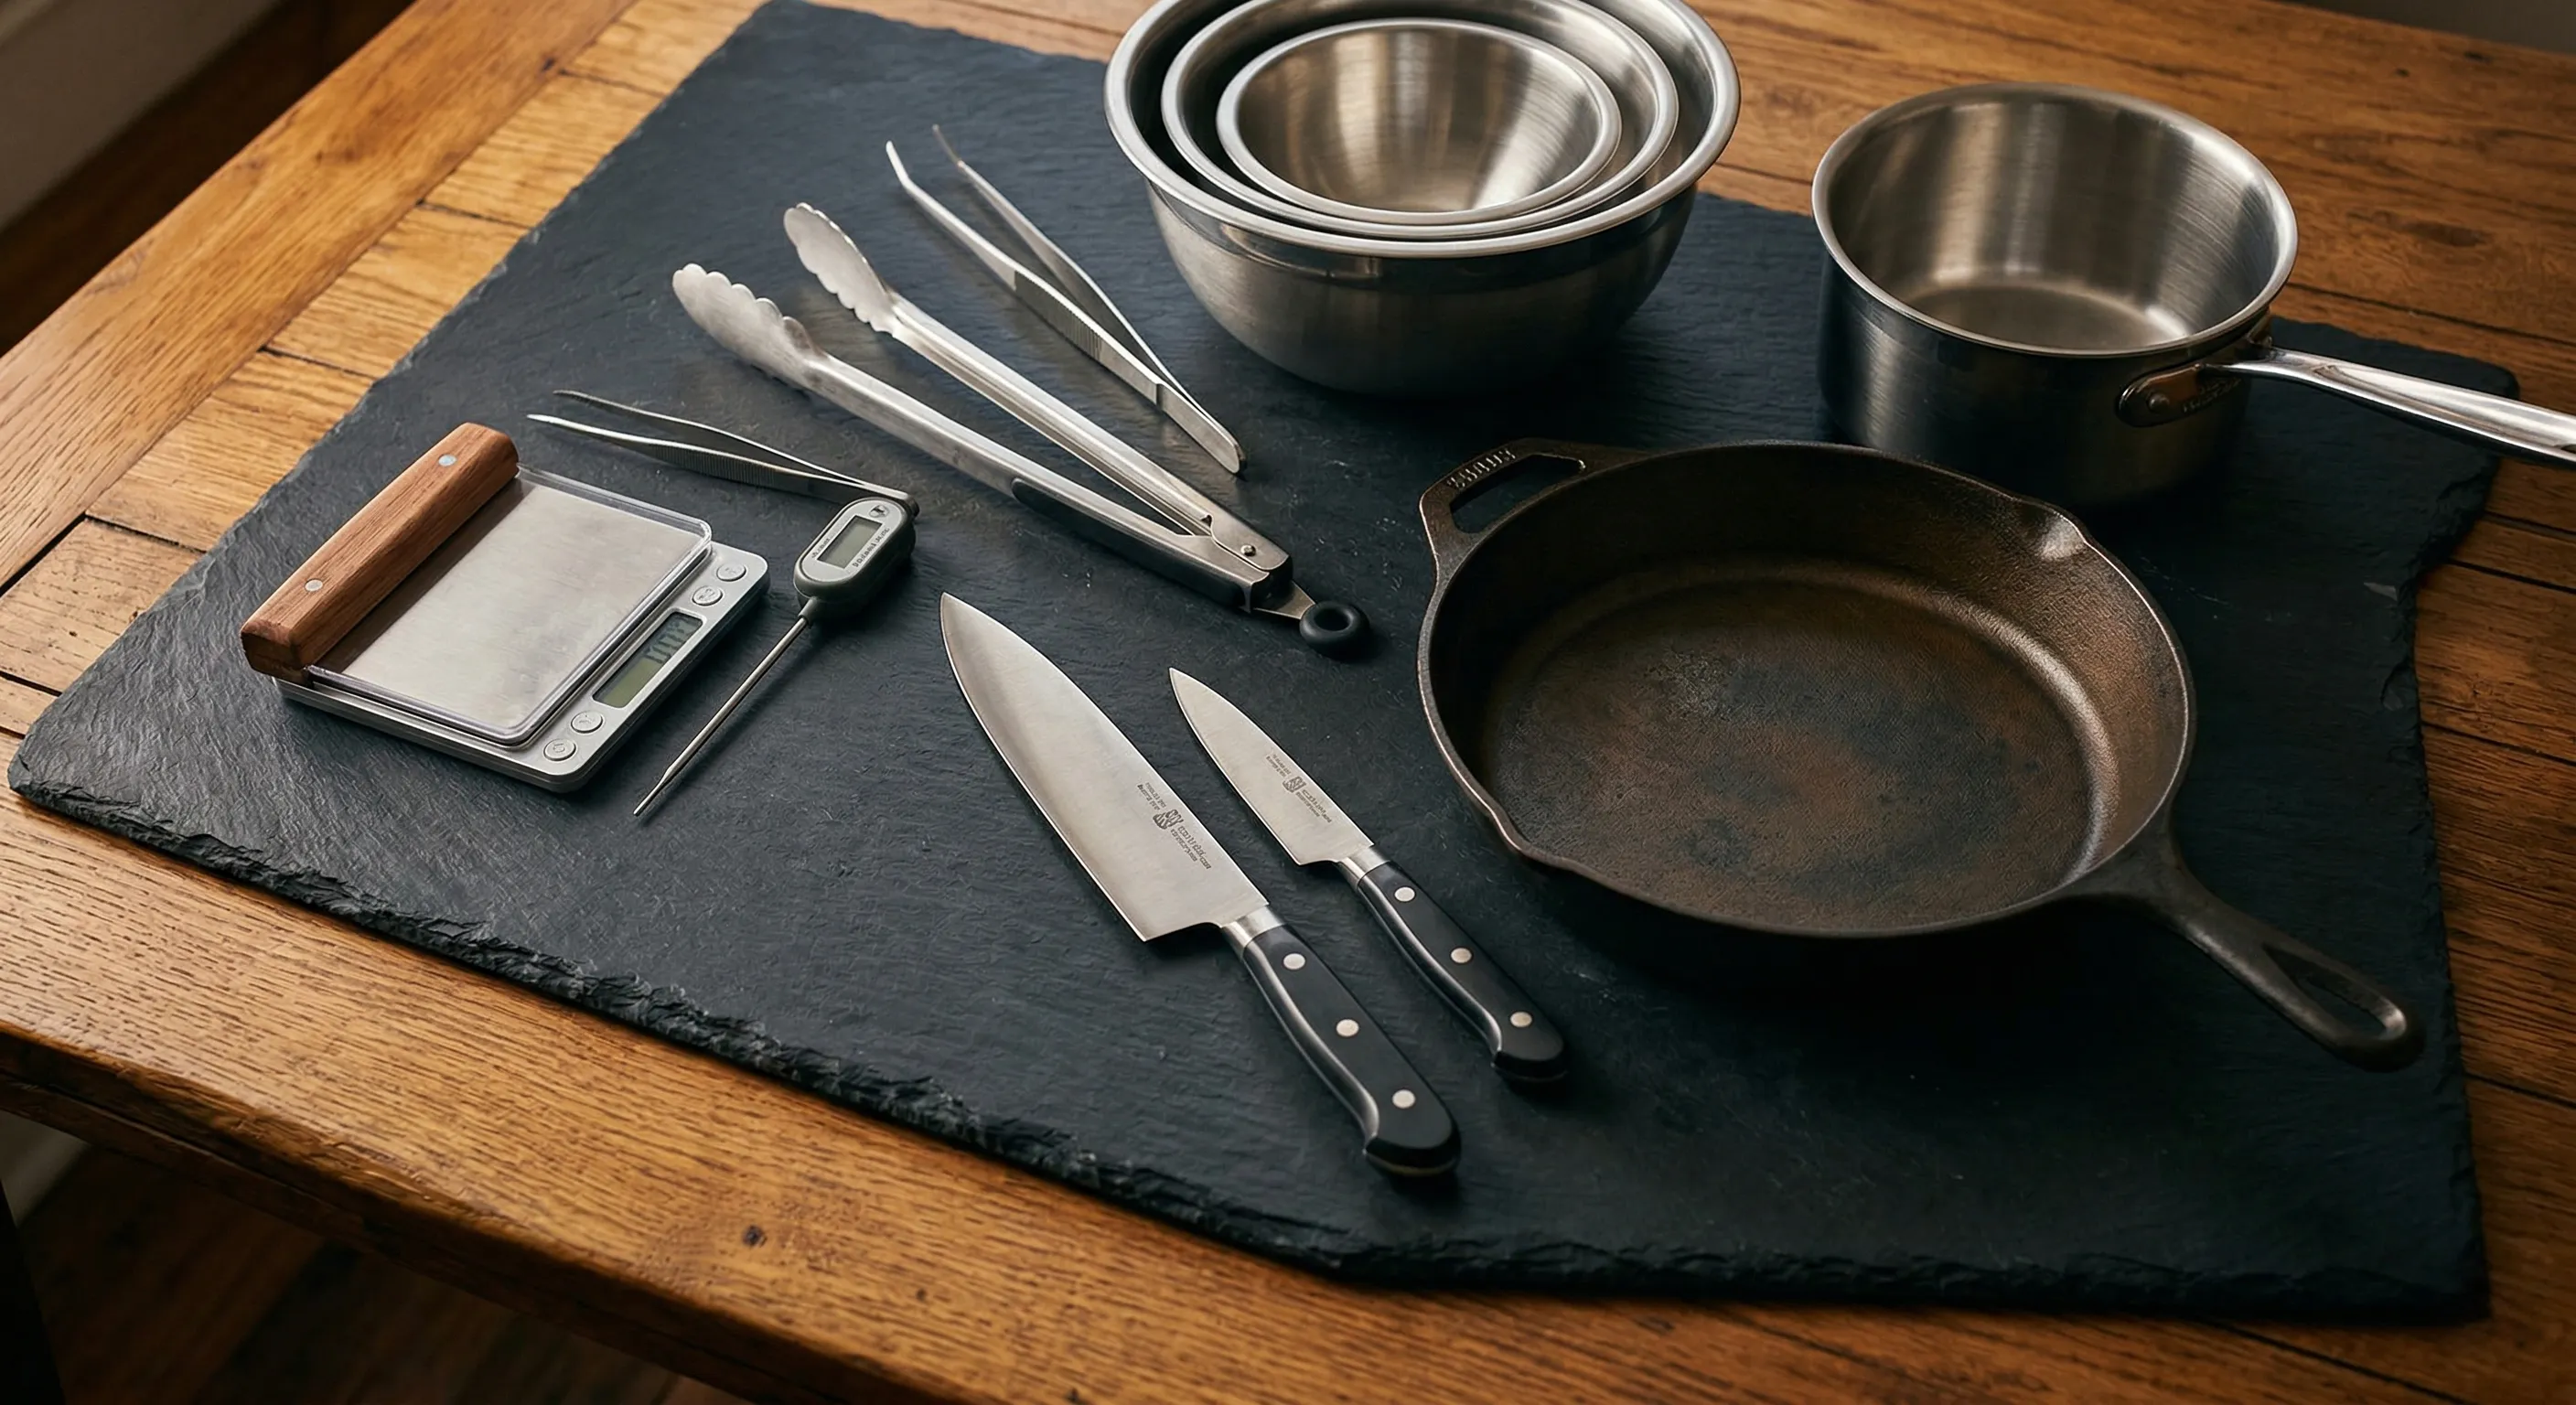
- Chef’s Knife (8–10” / 20–25cm): Your primary tool for 90% of prep. It should balance at the “bolster” (where the handle meets the blade).
- Serrated Knife: For bread and soft-skinned vegetables (tomatoes) that a straight edge might crush.
- Paring Knife: For off-board work (peeling, coring) where the knife moves toward your thumb.
2. The Vessels (Thermal Control) Do not buy a 10-piece set; most will collect dust. Buy these four workhorses.
- 12” (30cm) Skillet (Stainless Clad): Your daily driver. The wide surface area prevents overcrowding (which leads to steaming instead of searing). The aluminum core provides responsiveness.
- 12” (30cm) Cast Iron Skillet: The searing engine. Used for steaks, cornbread, and shallow frying. It holds heat better than any other vessel.
- 4-Quart (4L) Saucepan: For boiling pasta water, reducing sauces, or reheating soups.
- 6–8 Quart (6–7.5L) Dutch Oven (Enameled): The braiser and stock pot. The heavy lid traps steam and regulates radiant heat from all sides.
3. The Infrastructure (Bowls & Mise en Place)
- Mixing Bowls (Stainless Steel): Use nested metal bowls (Small, Medium, Large/5L). They are lightweight, unbreakable, and highly conductive for temperature-sensitive work. Avoid glass for mixing—it is heavy and traps heat.
- Prep Bowls: Small vessels (2–8 oz) for holding ingredients. These are the physical manifestation of your mise en place. Every ingredient must have a home before cooking starts.
4. The Extensions (Hand Manipulation)
- High-Heat Tongs (9–12”): Your “Power Grip.” Use these for heavy lifting—turning a steak or tossing pasta. Spec: Locking mechanism, no silicone tips (silicone slips on wet meat).
- Offset Chef’s Tweezers (10–12”): Your “Precision Grip.” Unlike tongs, tweezers allow you to rotate a single scallop or place a garnish without disturbing the sauce. They offer tactile feedback that tongs numb.
- Bench Scraper: The most underrated tool. Use it to move prep from board to pan, or to scrape a board clean. It saves your knife edge.
5. The Truth Tellers (Precision & Measurement)
- Digital Scale: Essential for “Baker’s Percentages” and ratios.
- Chef’s Note: Volume (cups) is subjective; Mass (grams) is absolute. If you want your result to look like the photo, use the scale.
- Instant-Read Thermometer: The difference between a dry chicken breast and a perfect one is often just 5°F.
6. Specialty Equipment (Mechanical Consistency)
- The Mandoline: Delivers paper-thin slices (carpaccio) or perfect julienne that a knife cannot match in speed. Safety Note: Never use without the hand guard or a cut-resistant glove.
- The Microplane: Unlike a box grater, which tears, a Microplane shears zest and hard cheese into fluffy “snow,” maximizing surface area and aroma release.
7. The Consumables (Disposable Infrastructure) These are tools, not trash. Use them to control moisture and heat.
- Parchment Paper: Non-stick and heat-resistant. Use it to line pans or cut a “cartouche” (a false lid) to keep braises submerged.
- Heavy-Duty Aluminum Foil: Structural. Use it to tent meat (resting), shield pie crusts, or mold into impromptu roasting racks.
- Plastic Wrap (Cling Film): Air control. Use it for airtight seals or “contact covers” to prevent a skin from forming on sauces.
8. The Bakeware (Oven Architecture) In a professional kitchen, everything happens on a tray. Bakeware is not just for sweets; it is for roasting, organizing, and sanitizing your workflow.
- Rimmed Baking Sheets (Half Sheet):
- The Standard: 13” x 18” aluminum with a rolled rim.
- Why: Unlike a flat “cookie sheet,” the rim contains grease from roasting vegetables or chicken. Aluminum conducts heat evenly.
- The Workflow: You need at least two. Use them for your mise en place (organizing prep cups) to keep your station clean, then scrub them down for oven duty.
- Quarter Sheets: (9” x 13”). Excellent for small-batch roasting or breading stations (Standard Breading Procedure: Flour, Egg, Panko).
- Wire Cooling Racks (The Air Gap):
- The Physics: Cooking continues after you remove food from the oven (“Carryover Cooking”). A rack lifts food off the hot pan, allowing air to circulate underneath to stop the cooking or keep a crust crisp.
- Roasting Hack: Place a rack inside a sheet pan to create an impromptu roasting tray for chicken or steaks, allowing heat to circulate 360°.
- The Roasting Pan (High-Wall):
- Usage: Large poultry (Turkey/Chicken) or Prime Rib.
- The Distinction: Unlike a sheet pan, the high sides trap moisture and catch drippings (fond) for gravy without spilling. Look for heavy stainless steel, not non-stick (which prevents fond development).
- Standard Muffin Tin (12-Well):
- Usage: Cupcakes, muffins, and individual mise en place hacks (freezing stock cubes).
- Material: Light-colored aluminum. Dark coated pans absorb too much radiation, burning the bottoms of muffins before the centers are done.
- Loaf Pan (1lb / 9x5”):
- Usage: Banana bread, pound cake, meatloaf.
- The Geometry: Deep and narrow to force the batter upwards (the rise) rather than outwards.
Practice Exercise: The “Pan Response” Test Goal: Understand the thermal properties of your cookware.
- Setup: Place a thin non-stick pan and a heavy cast iron pan on burners set to medium heat.
- Action: Add 1 tablespoon of water to each after 2 minutes.
- Observe: The water in the thin pan will likely sizzle and evaporate instantly (or the pan might warp). The cast iron may just barely hiss.
- Conclusion: The heavy pan is a slow-charging battery; the thin pan is a wire. You need to preheat heavy pans significantly longer to get performance.
Glossary
- Thermal Mass: Heavy cookware, such as cast iron or clad stainless steel, utilizes thermal mass to maintain consistent temperatures during cooking processes.
- Conductivity: Materials like stainless steel and glass are valued for their ability to rapidly transfer heat, crucial for precise temperature control in applications like custard cooling.
- Mechanical Leverage: A forged knife blade provides greater force and reduces strain on the chef’s wrist compared to a stamped blade.
- Aluminum Core: The aluminum core of a stainless steel skillet enhances its responsiveness to temperature changes, vital for searing techniques.
- Dutch Oven Lid: The heavy lid of a Dutch oven traps steam, regulating radiant heat and ensuring even cooking.
- Stainless Steel Bowls: Lightweight and highly conductive, stainless steel bowls are preferred for temperature-sensitive mixing and preparation tasks.
- Baker’s Percentages: The use of mass measurements (grams) rather than volume measurements (cups) ensures consistent results, particularly in baking.